

In this post, we are going to look at how to take a speech audio file and either transcribe it to text in the original language it was recorded, or to translate its content into English.
First of all, let me note that the model we are going to use is “Whisper” which is OpenAI’s speech-to-text model. This model supports 57 languages.
The first thing to do is to get an audio file from the user, which is the case for both operations (transcribe or translate). We define a simple user interface that gets the file, a button that the user can use to listen to the audio file in order to prevent any erroneous uploads and a button that actually passes the audio file to OpenAI for processing. This code will be valid for both operations.
In order to do that, we use the .fileImporter modifier (similar to .fileExporter we used to export images)
 files")
This built-in SwiftUI modifier is triggered by a boolean variable that can be set up by pressing a button (loadingFrom File). The allowed content types for audio files are defined in the allowedContentTypes parameter and we can see mp3, mPeg4 Audio, WAV and a generic audio file as the options. We set allowsMultipleSelection to false, since we would like to process one file at a time. Also note that the audio file to transcribe or translate is limited to 25MB in size.
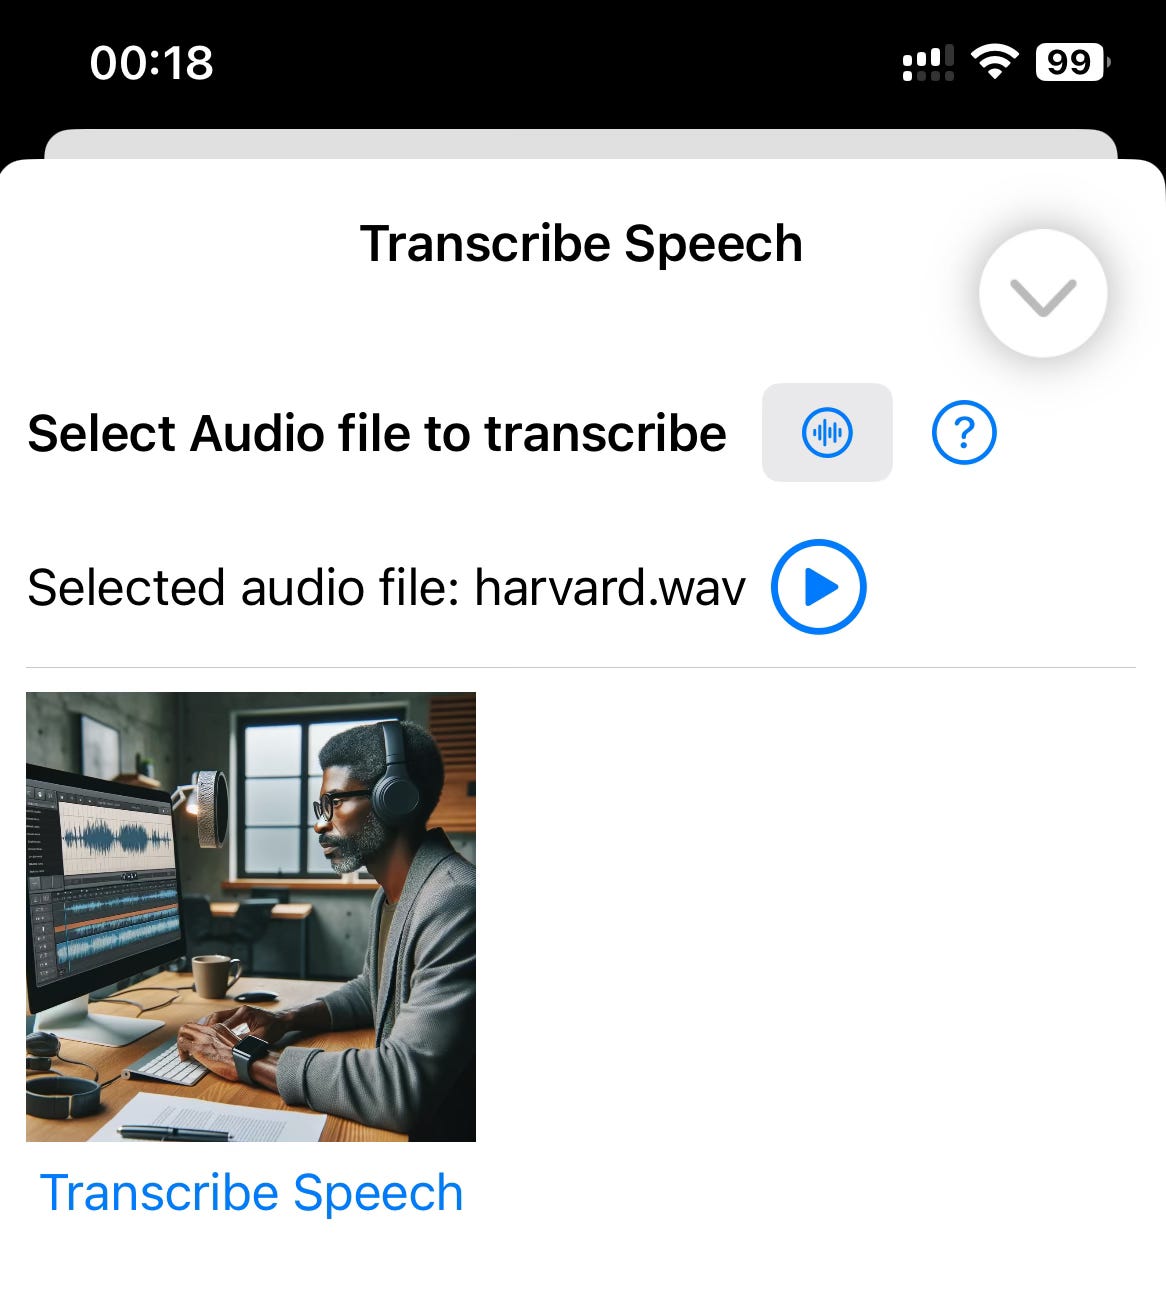
Let us see what the UI looks like on an iOS version of the application.
The user selects a file by pressing the button with an audio symbol on it. The application displays the file system (from iCloud).
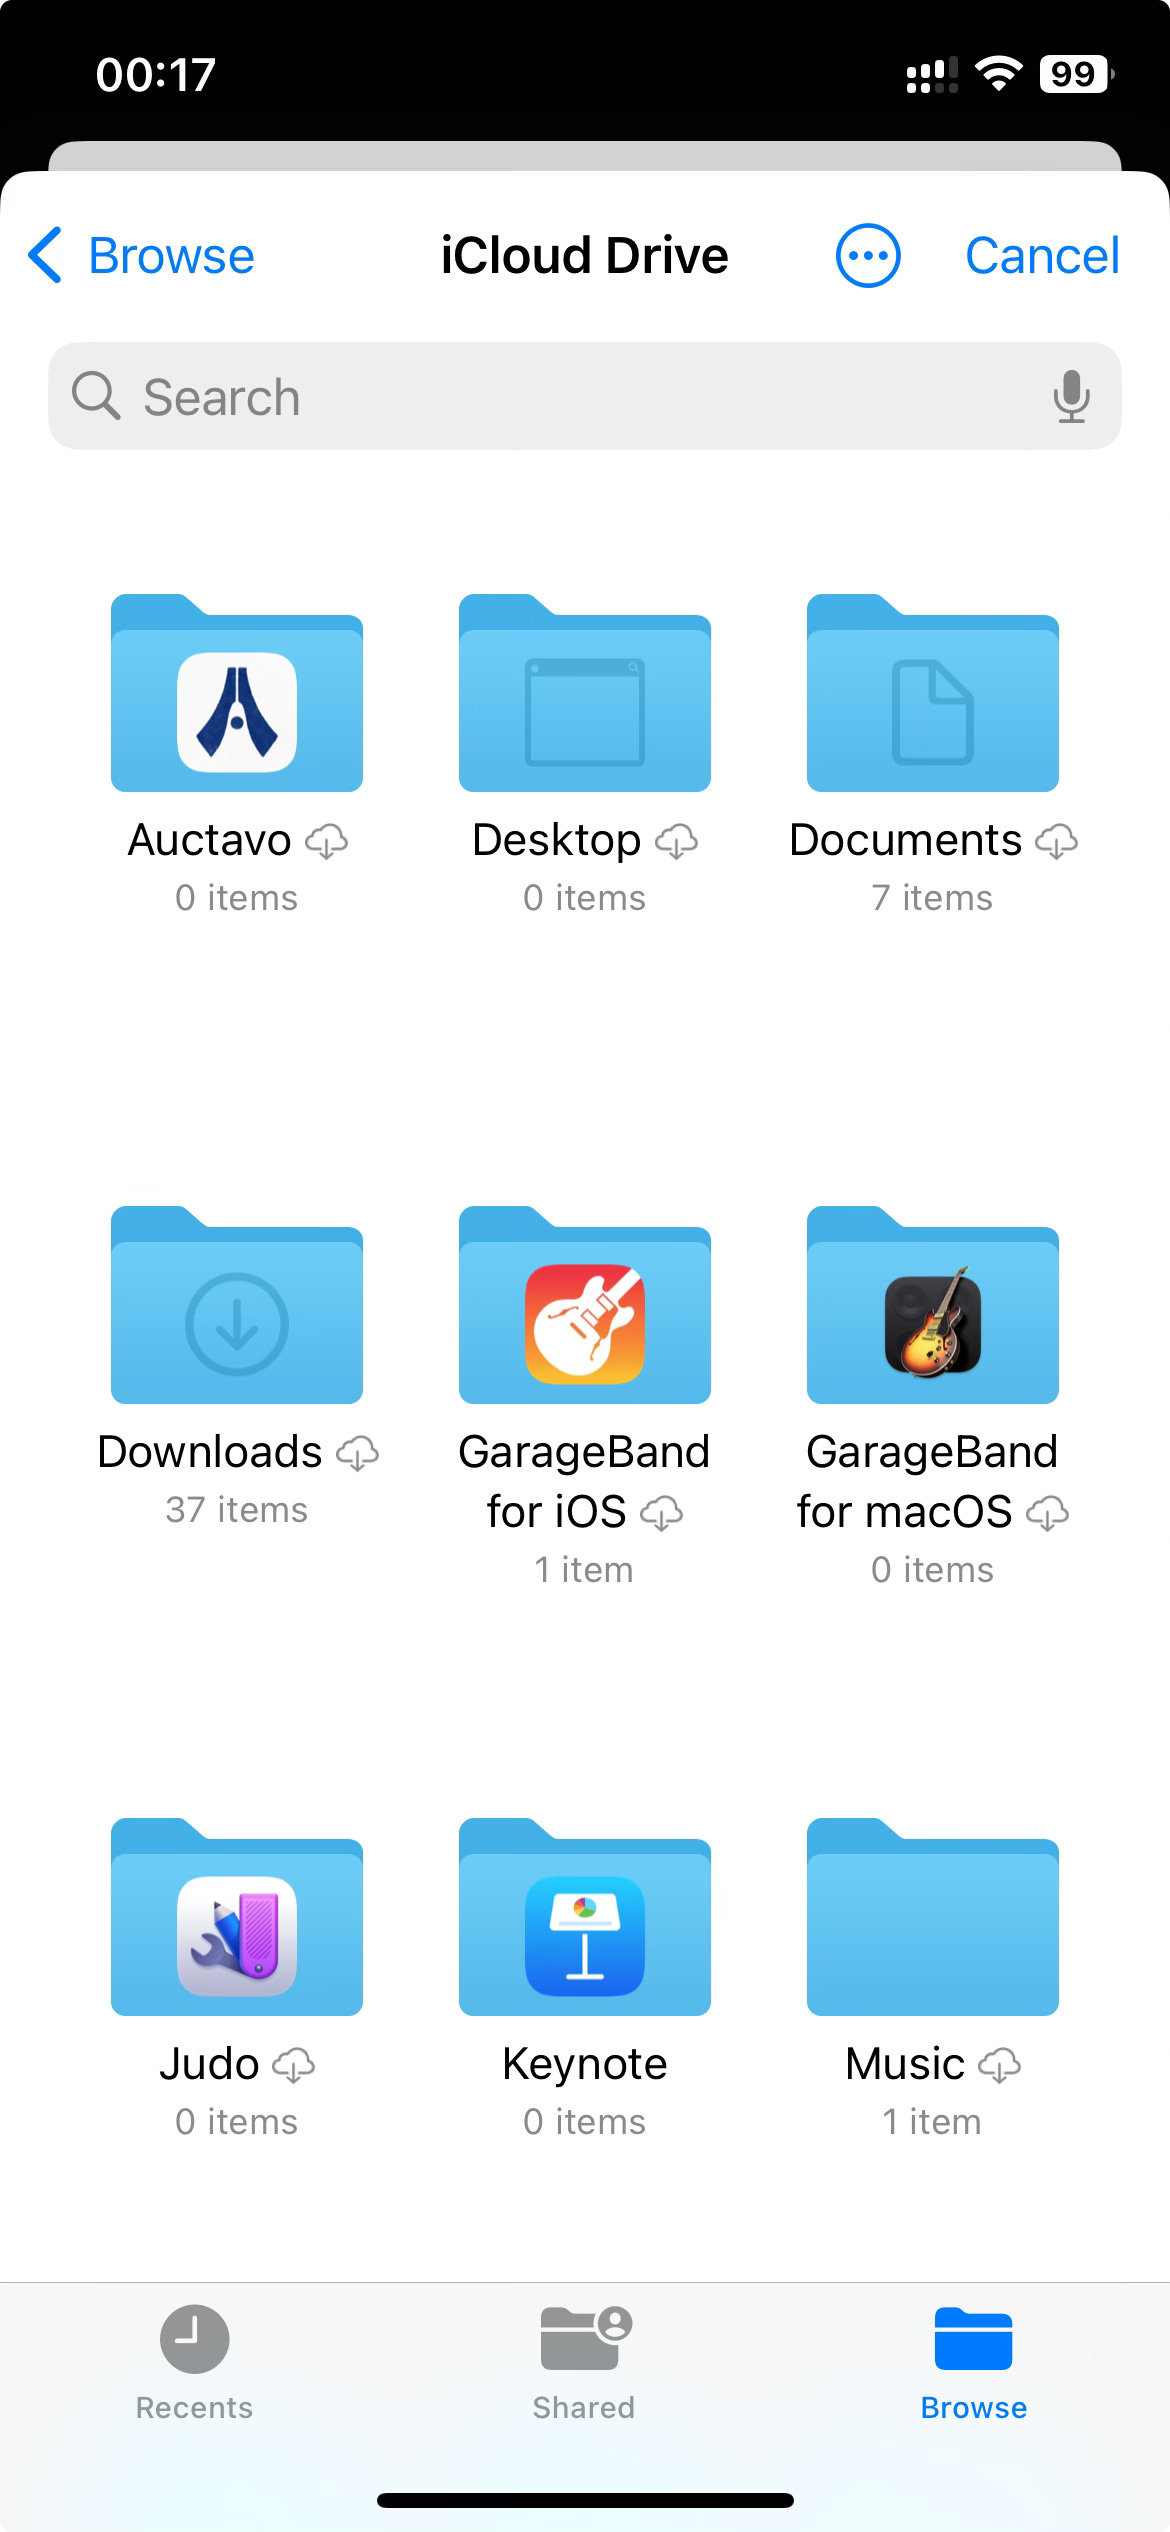
If the user selects a file, then we get a list of file URLs and process them one by one. (We can only have one URL in this case). We get the selected URL and ask the user to confirm we can work on local or iCloud files through the startAccessingSecurityScopedResource call. The user only confirms once when this operation is attempted, then no more confirmation is required in subsequent uses of this function. If the approval is there, we get the contents of the audio file into a Data (generic) structure. Once this is done we release the file by calling stopAccessingSecurityScopedResource. We then pass the name of the file to an AudioPlayerViewModel that can be used to play the audio file, as the name suggests.
Once the user presses the Transcribe button, the application sends the audio file to OpenAI and displays the transcribed text.

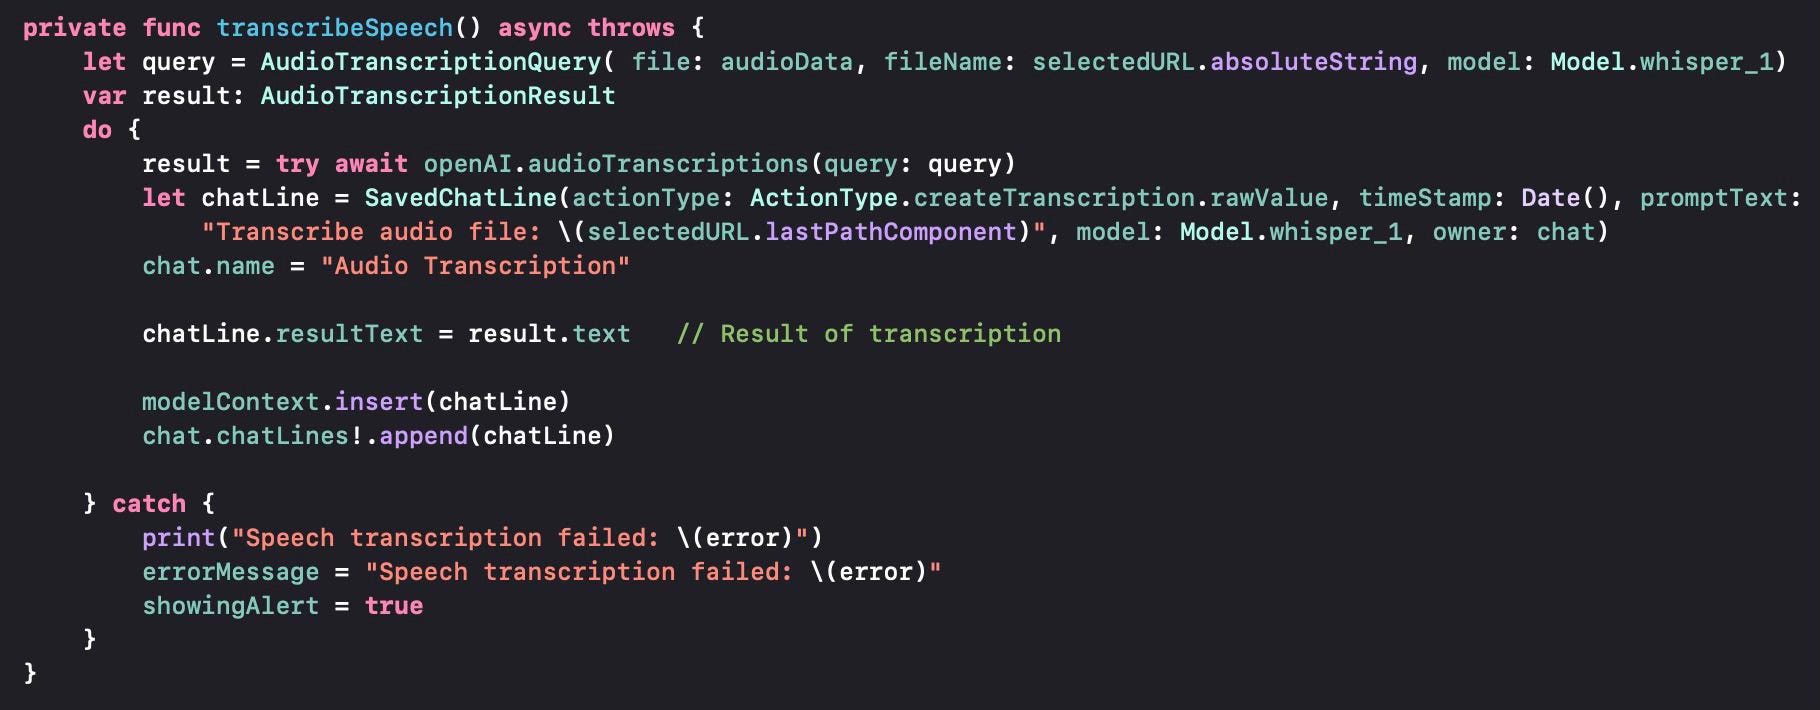
Let us now look into how we pass the audio file to OpenAI. We use the AudioTranscriptionQuery structure and populate it with the audio data, the name of the file, the speech-to-text model.
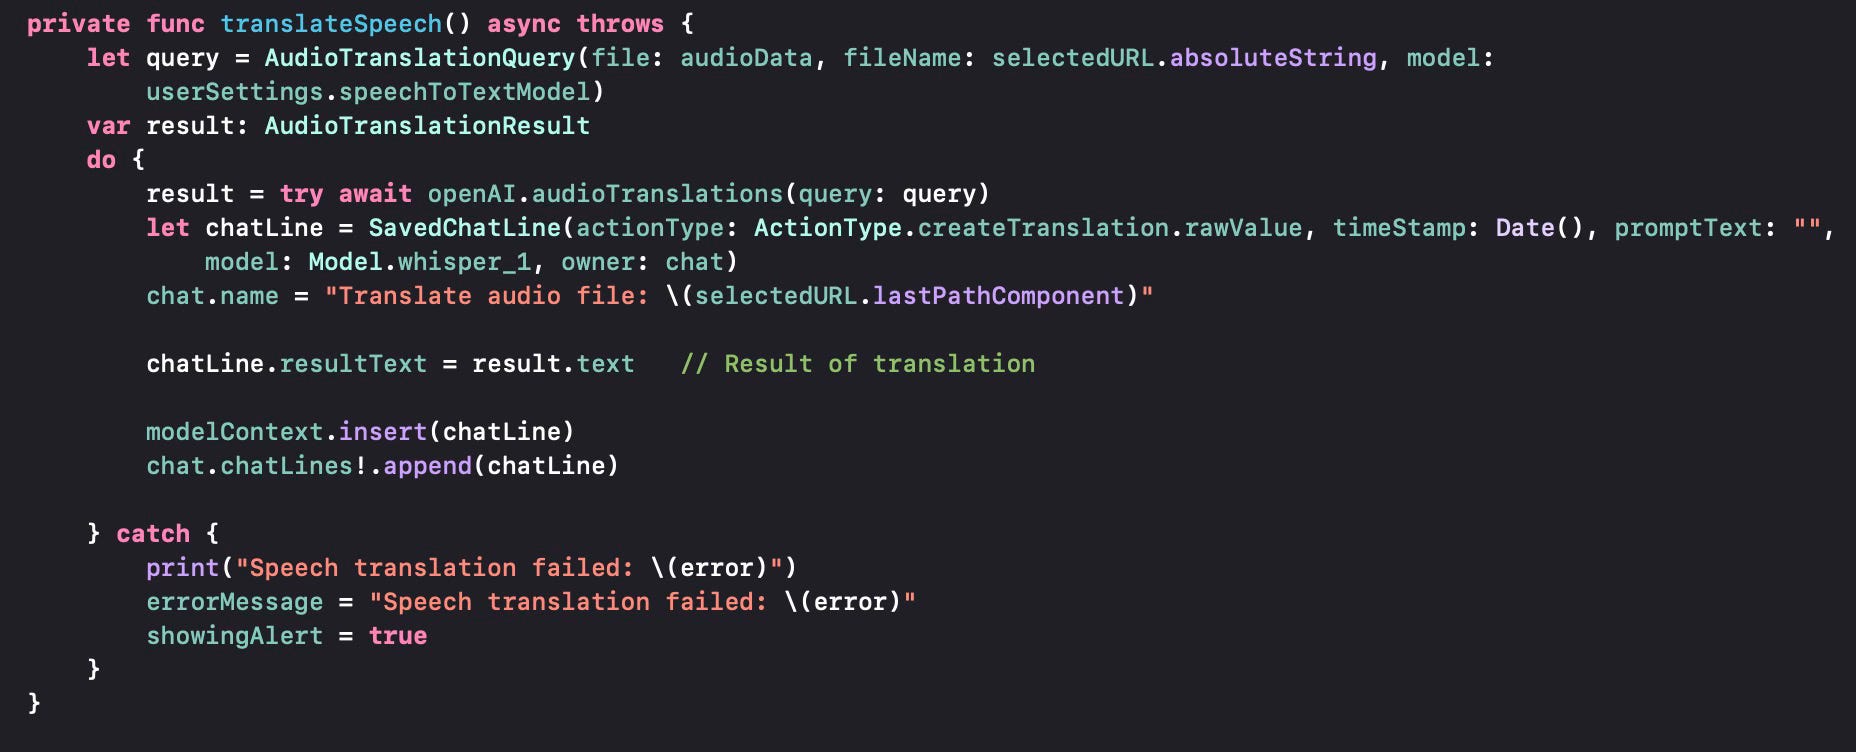
Audio Translation is similar, in the sense that it gets a file name using the same .fileImporter modifier and passes it to a function for translation as seen below. The query used is the AudioTranslationQuery.
Text-to-Speech is somewhat different, so I will cover that in a future post.