

In this post, I’m going to cover how to convert text to speech, using the OpenAI API. OpenAI has developed two models for Text-To-Speech. These are tts-1 and tts-1-hd. The first one creates a lower-quality, whereas the second one can create higher-quality audio.
As I covered in earlier posts, there are some options the user can set for speech generation. The screen shot below shows these options (as part of the User Settings page).
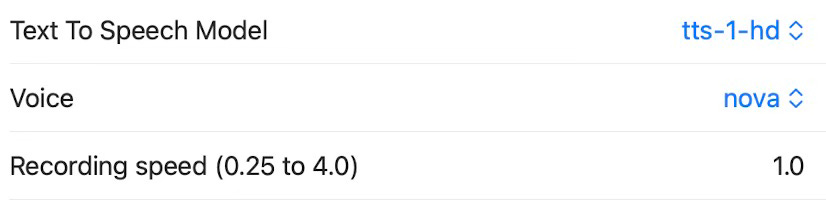
The first option (model) lets the user to select one of the two speech models. There is a difference in quality and also the cost of generation. The Voice parameter lets the user select one of the preset AI voices that OpenAI provides. These are alloy, echo, fable, onyx, nova and shimmer. The last option is the recording speed, which lets the user record the generated speech in a speed that can vary between 0.25 and 4.0, where the higher number shows the faster speech. Default is 1.0, which is the normal speed.
This operation supports 57 languages and can generate in these languages.
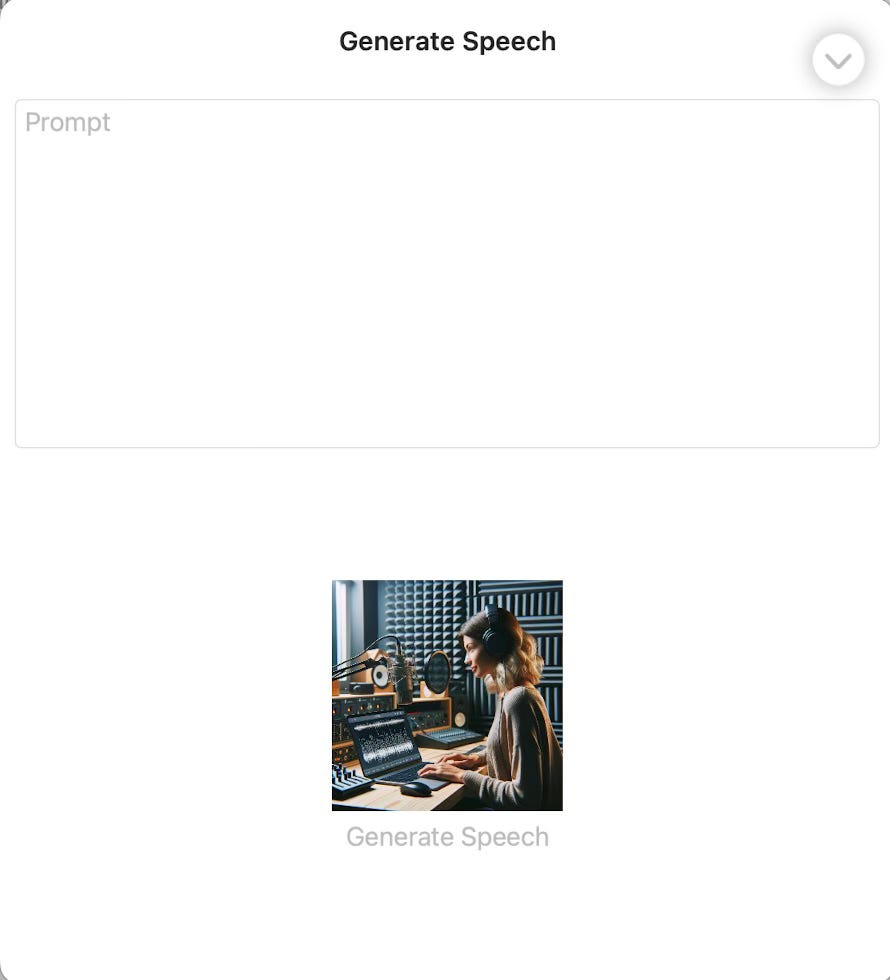
When we select the Text-to-Speech operation we get a prompt window where we can insert the text to be converted into speech.
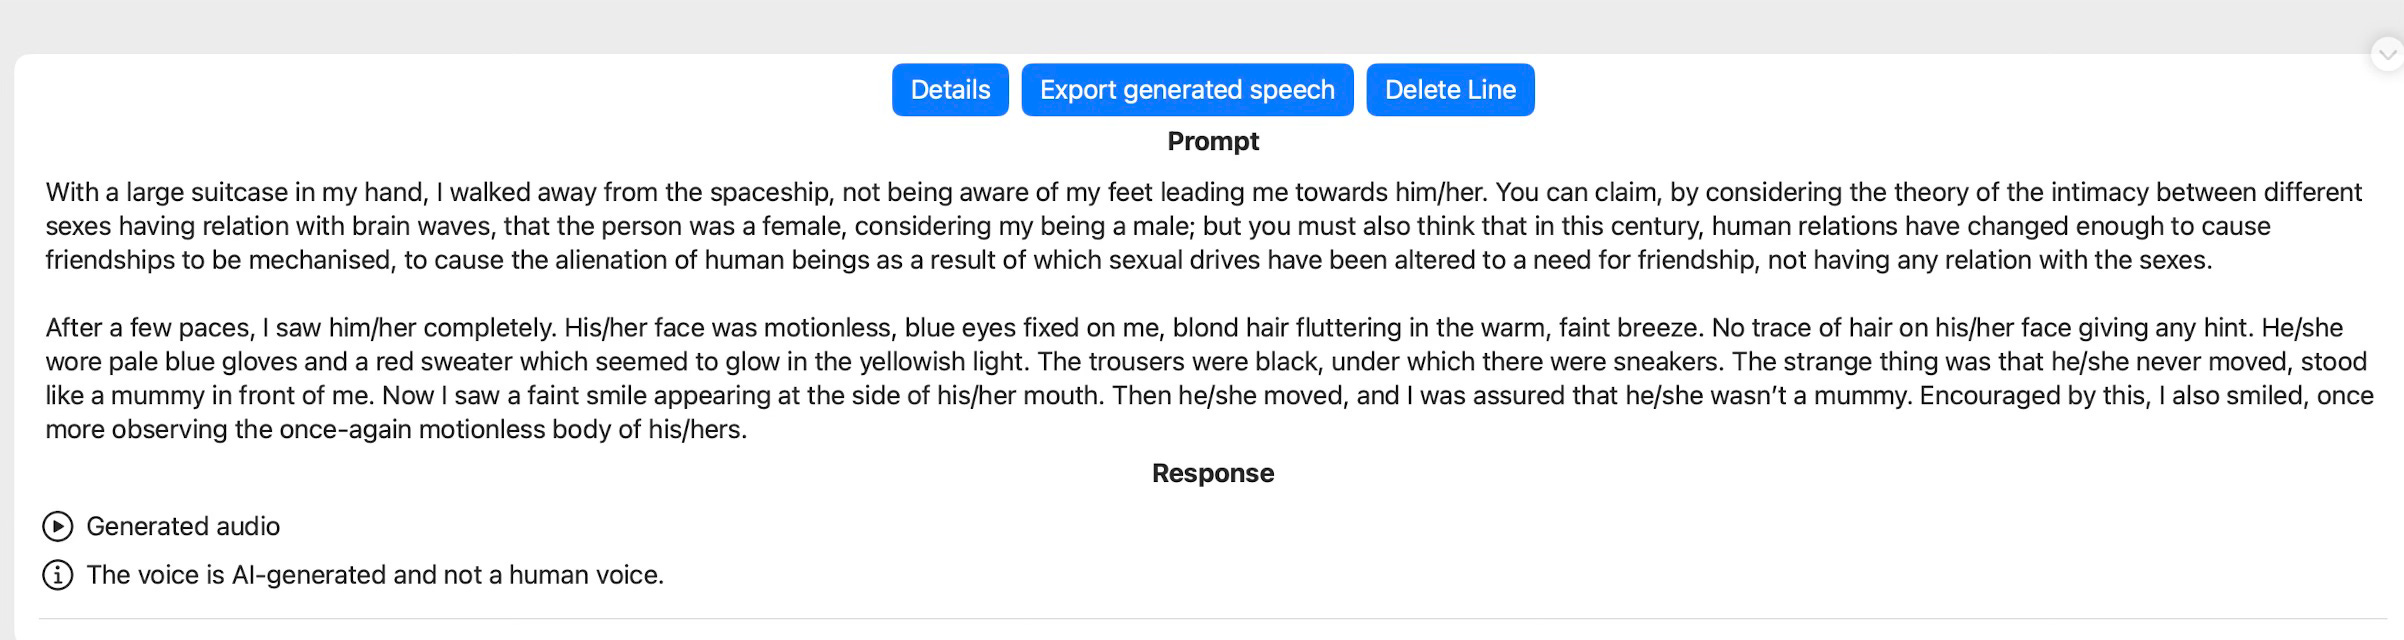
When you press the generate speech button, the application passes your text to OpenAI and generates the speech. The resulting window is something like what is shown below:
The generated audio record will be saved in a SwiftData class named GeneratedAudio as shown below.

As you can see, the audio is saved as a generic Data type in our data store. We also have to change the SavedChatLine class to make sure chat lines can store any generated audio files (here implemented as a relation).

For the time being, the speech endpoint only generated one audio file, but even if this changes in the future, our implementation will be fine since it can handle one or more audio files generated.
Here is the audio file that was generated from the prompt shown above.
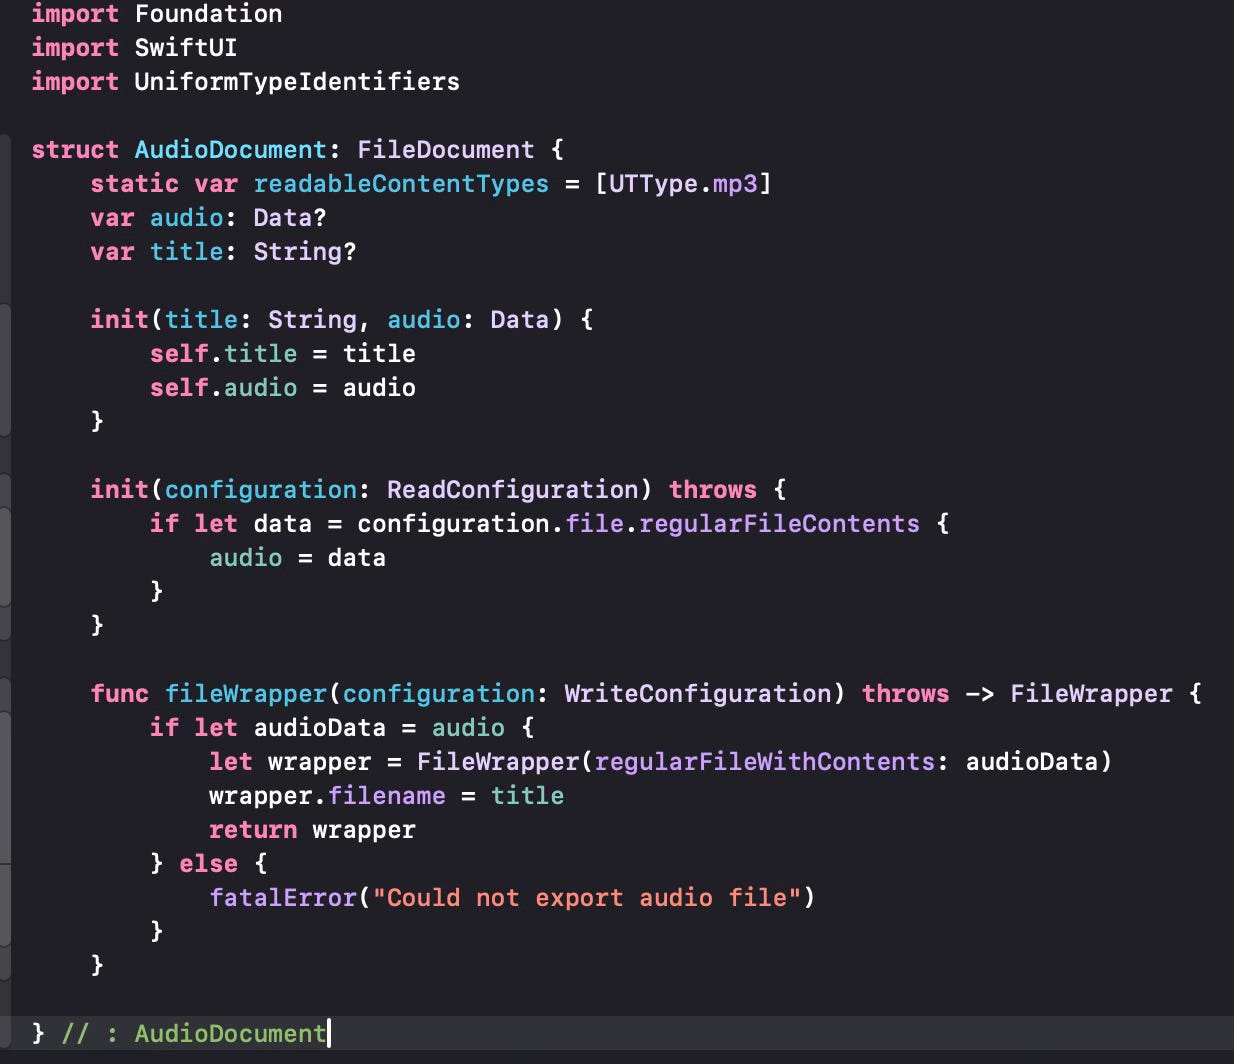
When such a speech record has been generated we can export it to an audio file that can be exported. We do it via the - now familiar - .fileExporter modifier. We first define an AudioFileDocument structure to be able to use this modifier.
Now we modify the ChatLineView to be able to export the audio.
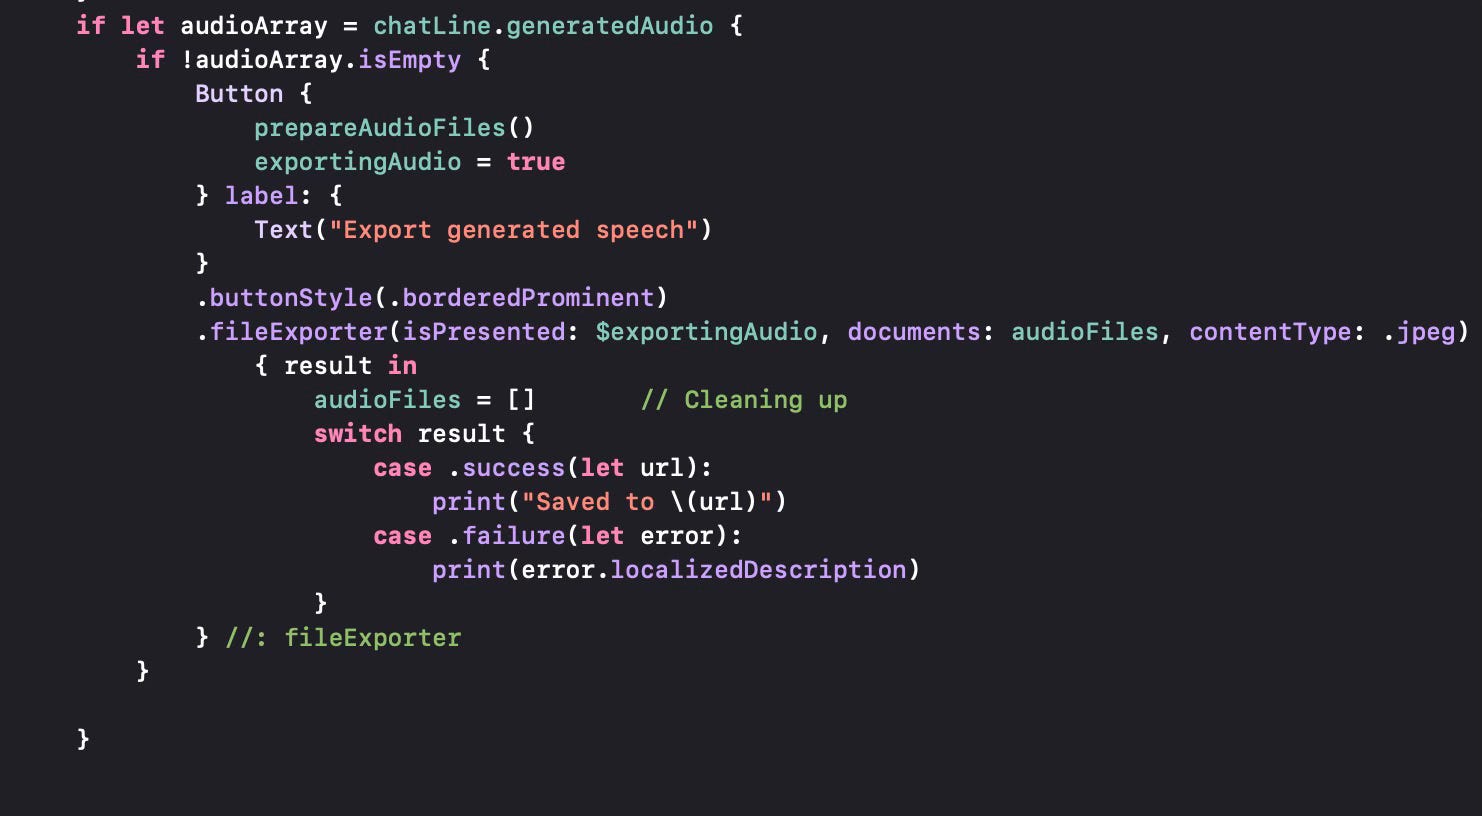
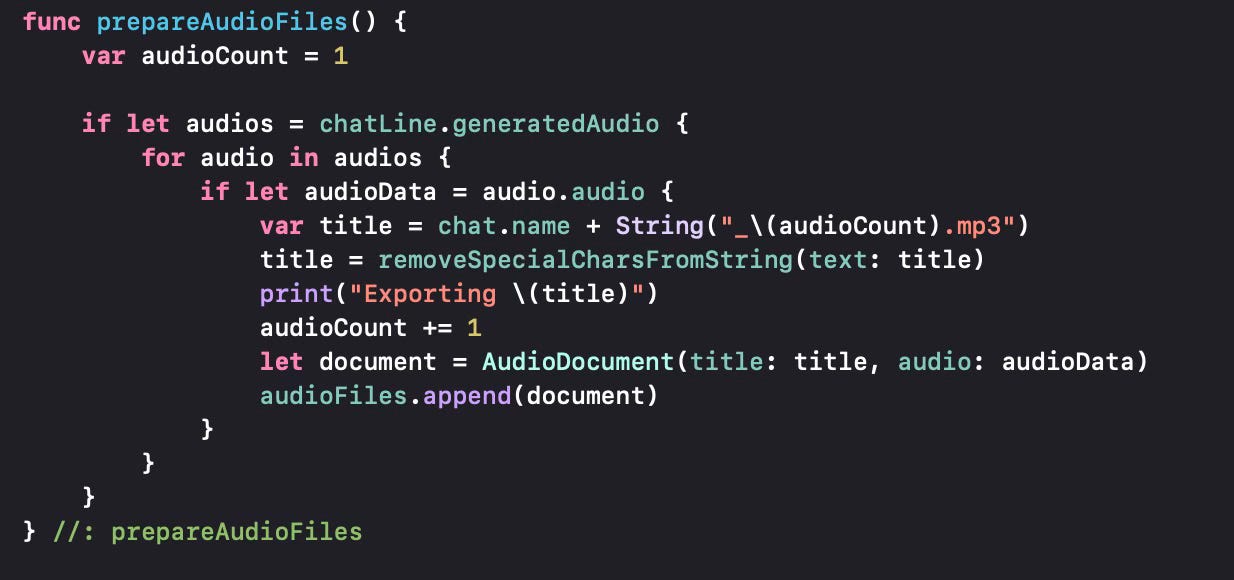
Let us see how we prepare the audio files to be exported by the .fileExporter. It is very similar to what we did for image files. For the time being we generate .mp3 files, but the OpenAI API supports “opus” for Internet streming and low latency; “aac” for digital audio compression preferred by YouTube, Android and iOS; “flac” for lossless audio compression; “wav” for the wav format and “ppm” to produce raw data samples in 24 KHz. We can support these additional formats in the future.
Let us now see how we send the actual request to the API.
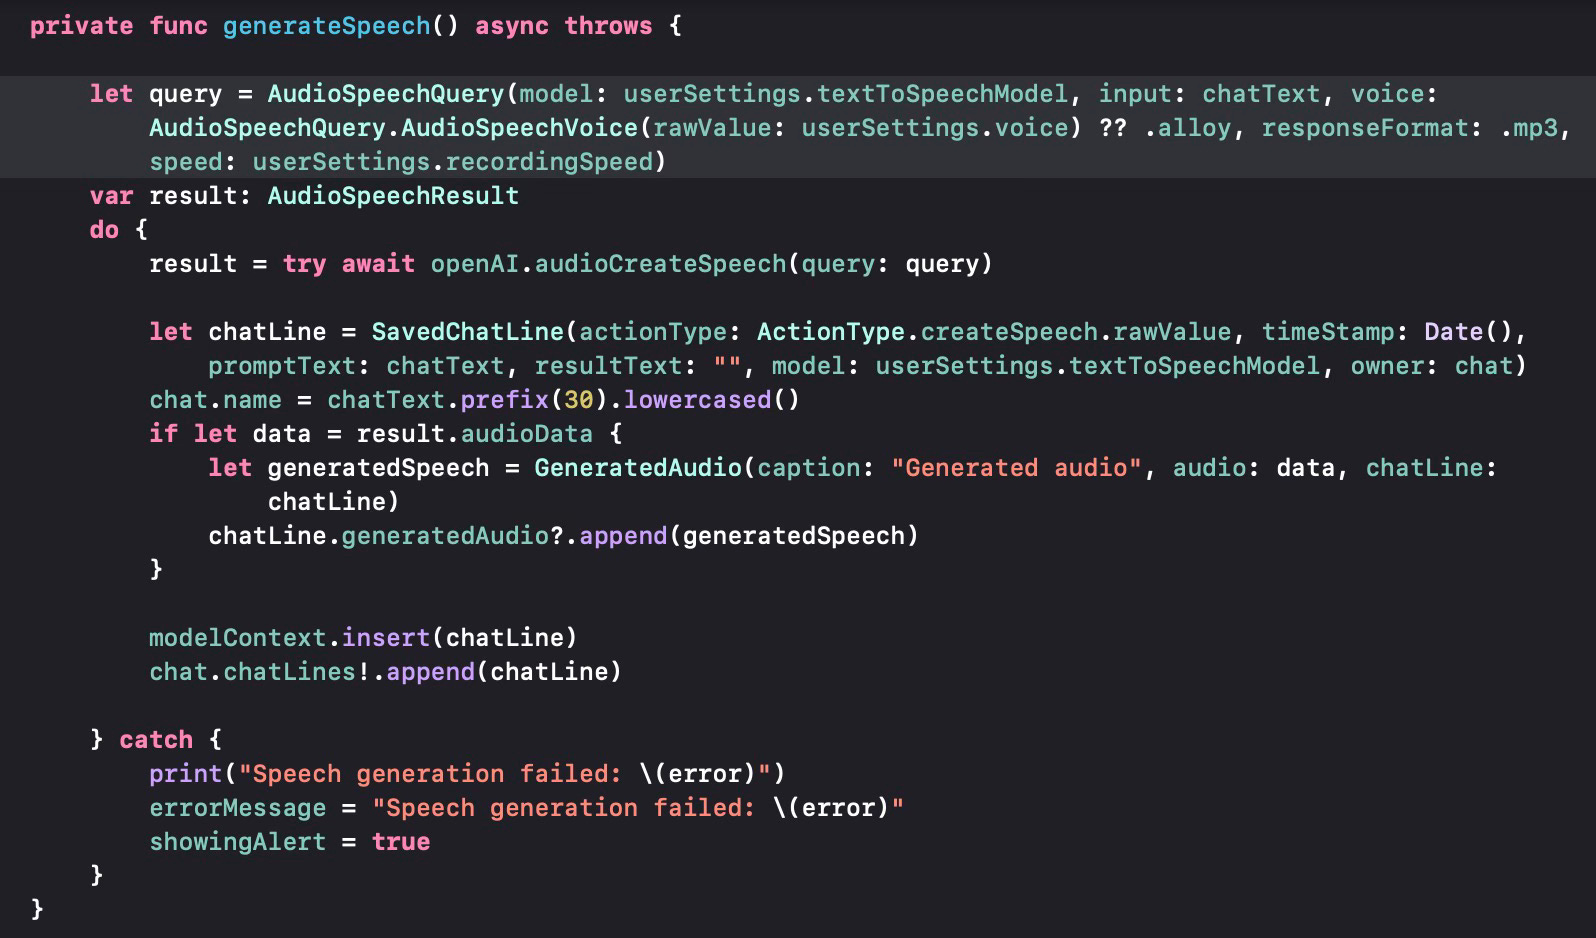
We use the AudioSpeechQuery in the OpenAI API Swift package and use the model selected in the user settings, the text input given by the user, the voice selected by the user. We set the format to .mp3 for the time being. We also use the recording speed selected by the user.
When we get the response from the asynchronous call for audioCreateSpeech, the audio data is stored in the audioData property of the result if the query is successful. We then store the generated audio data in the chat line as a generic Data format. Thus the user can now see the generated audio data and play it in the chat line interface before deciding to save it or not.
This operation was made possible only after an update to the OpenAI Swift package in version 0.2.6.
We have a few more operations left from the OpenAI API to implement to get a full suite of tools, namely Generate Edited Image, Create Image Variations, Explain Image and a JSON request. I plan to cover these in some future posts.