
In previous posts, we’ve shown how to use the OpenAI API for chats (ChatGPT) and image generation. Once the image and text are generated, we should be able to take these out of the application and save them.
To take the resulting text from the application, we do not have to do anything. We marked these selectable using the .textSelection(.enabled) modifier for text fields that we want to copy out.
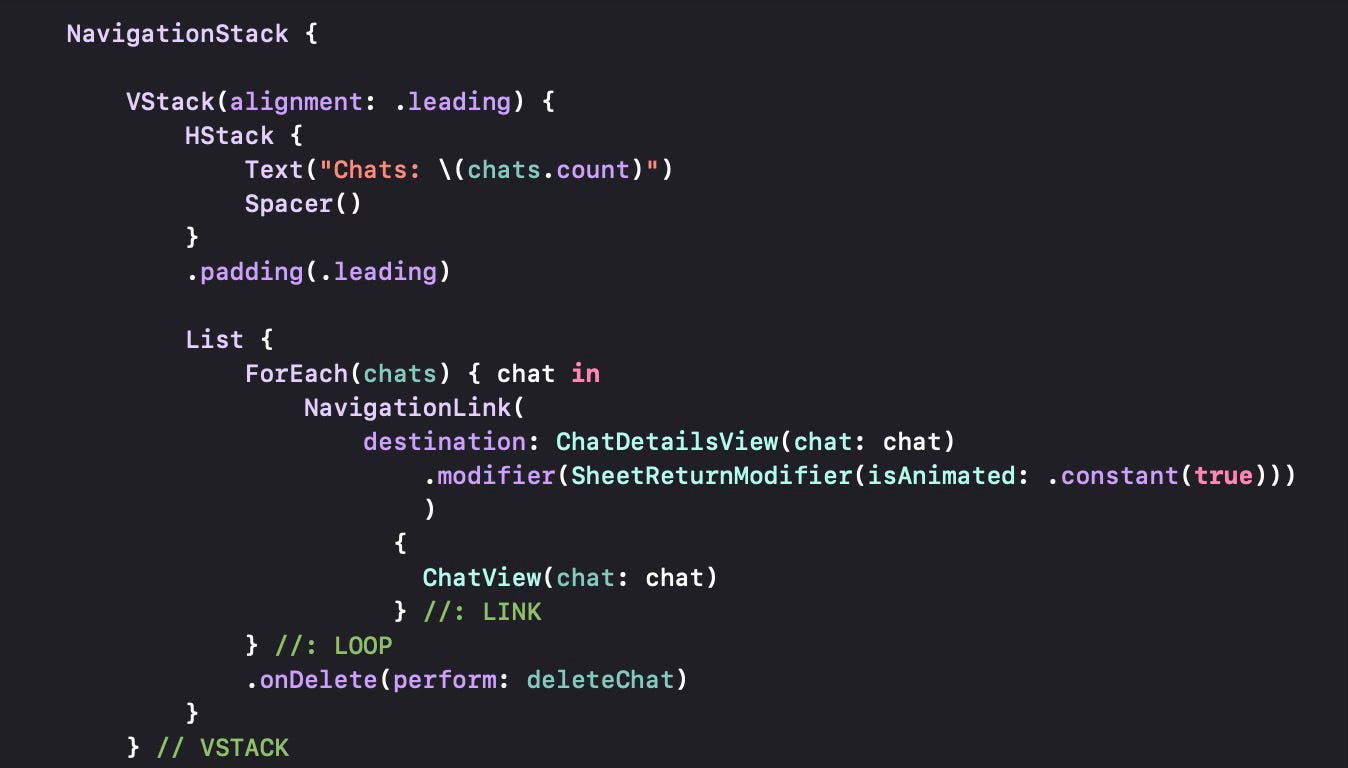
However, for images, we need an explicit implementation. To do that, some refactoring is necessary. We first rename RunChatView within ChatListView to ChatDetailsView to reflect its proper function.
We will also revise ChatDetailsView to make sure it supports different actions. The OpenAI API supports chat, image generation, image editing, image variations, image explanation, speech generation, speech transcription, speech translation and “create JSON” modes.
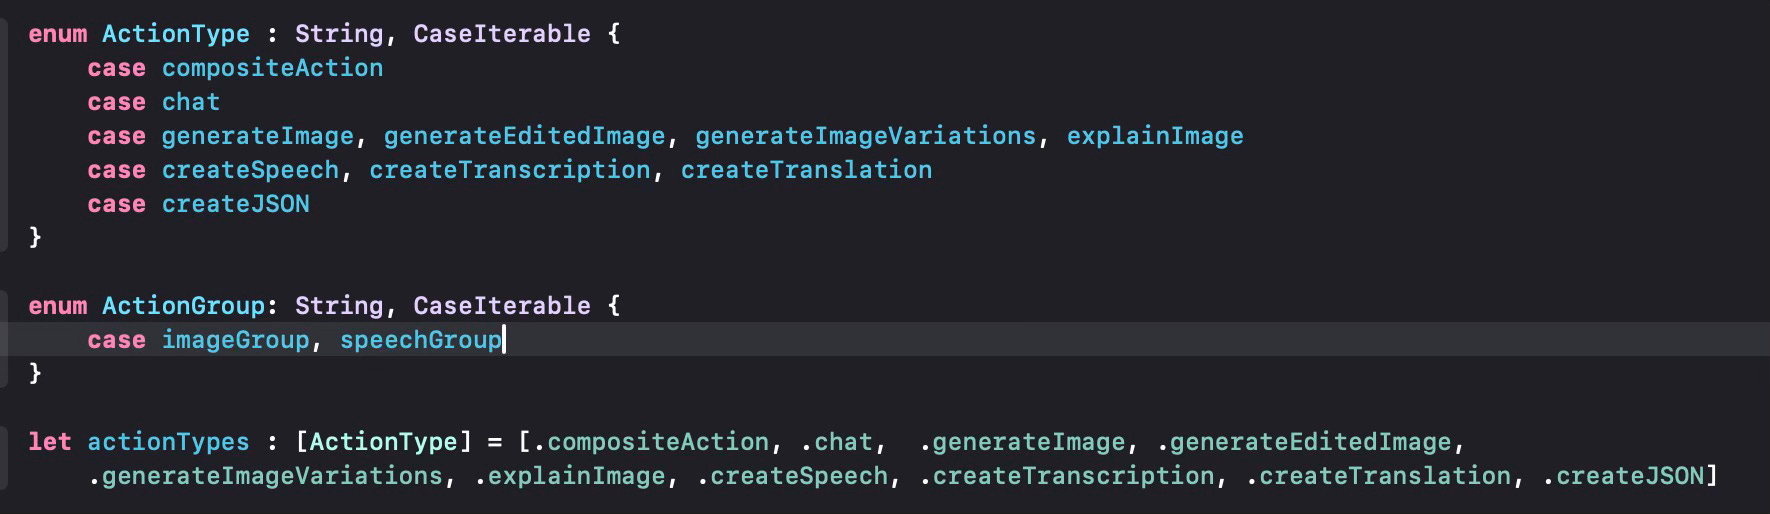
We define an enum type ActionType that defines these different modes OpenAI API supports. We also use an ActionGroup type to group similar actions (e.g. image-related actions). ChatDetailsView will be our main view to select and execute these actions based on user selection.
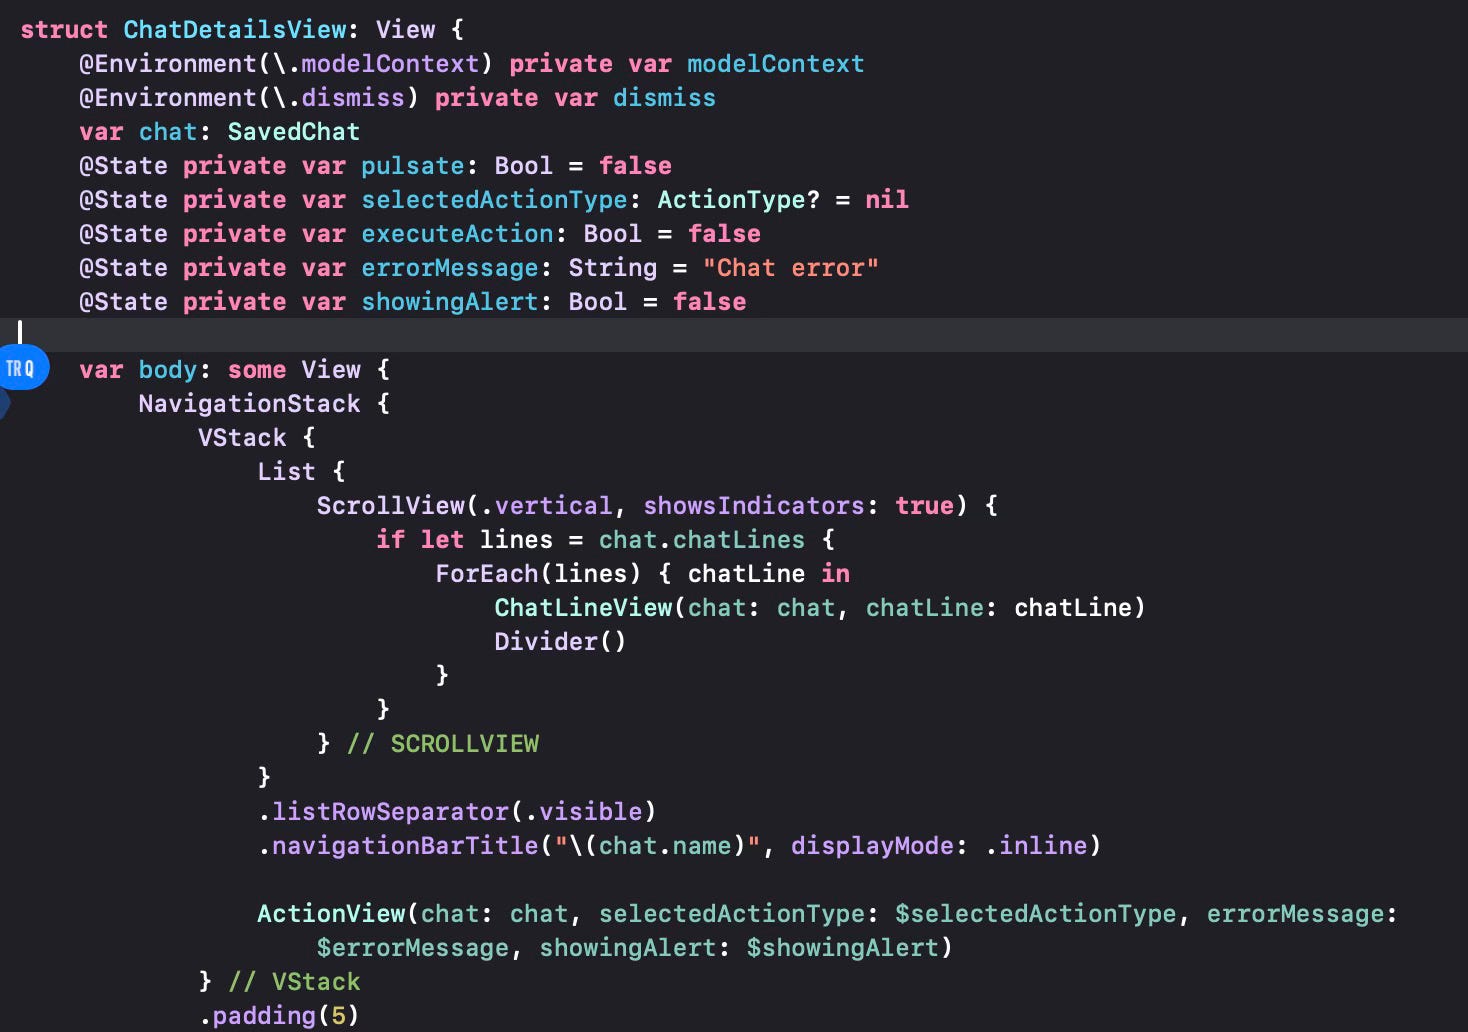
The VStack in this section encloses the List which shows all the previous chat lines and then also the ActionView which will show the action options and will let the user select the action to perform, as seen in the screenshot below.
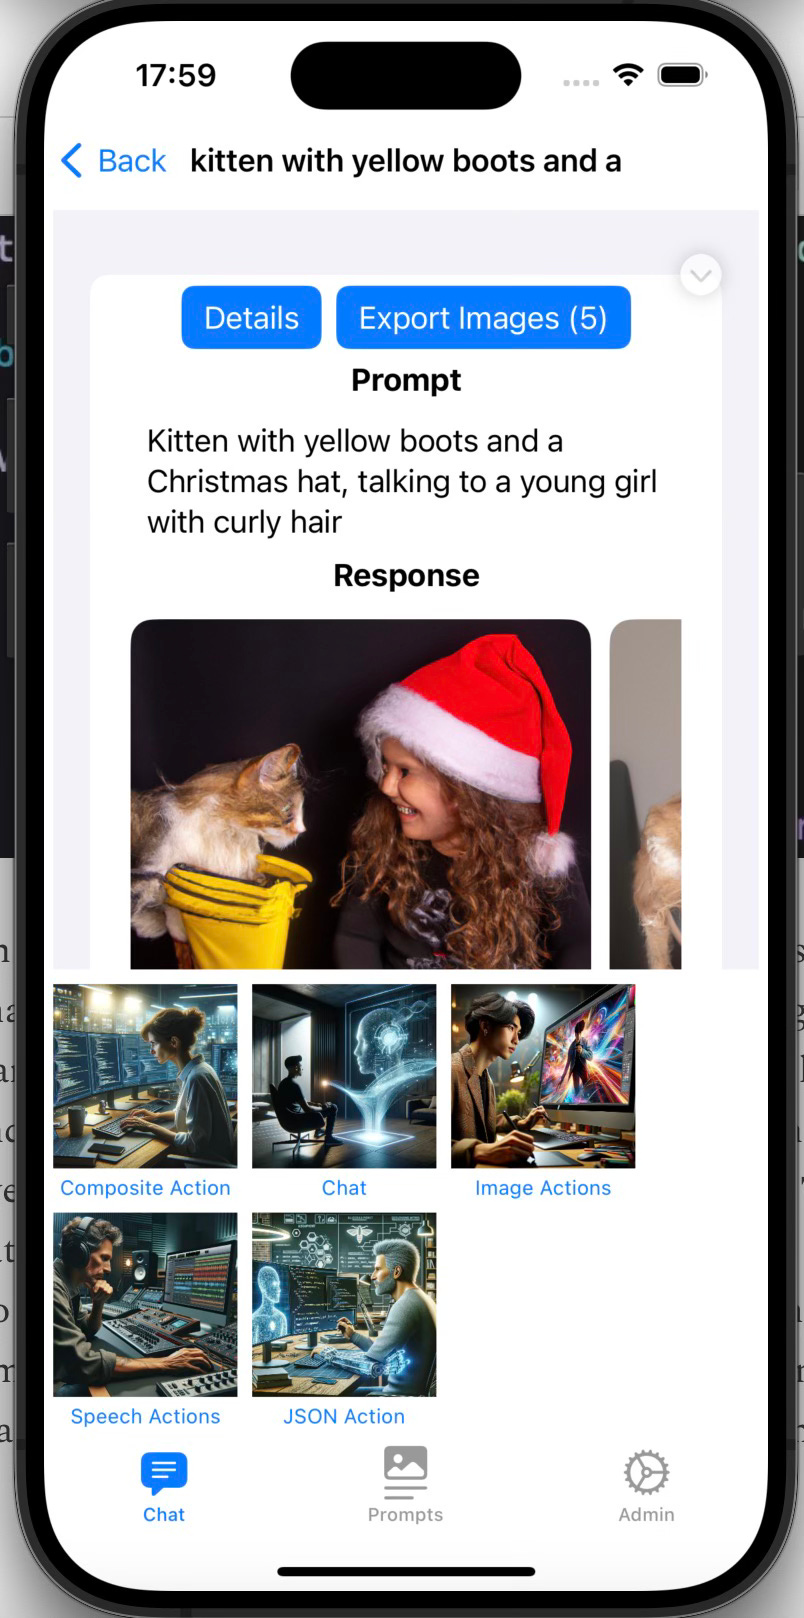
If “Image Actions” or “Speech Actions “ is selected, there will be a further selection of the possible actions in that group.


Let us now cover what is displayed in the ChatLineView. This view displays what was previously generated in that particular chat session
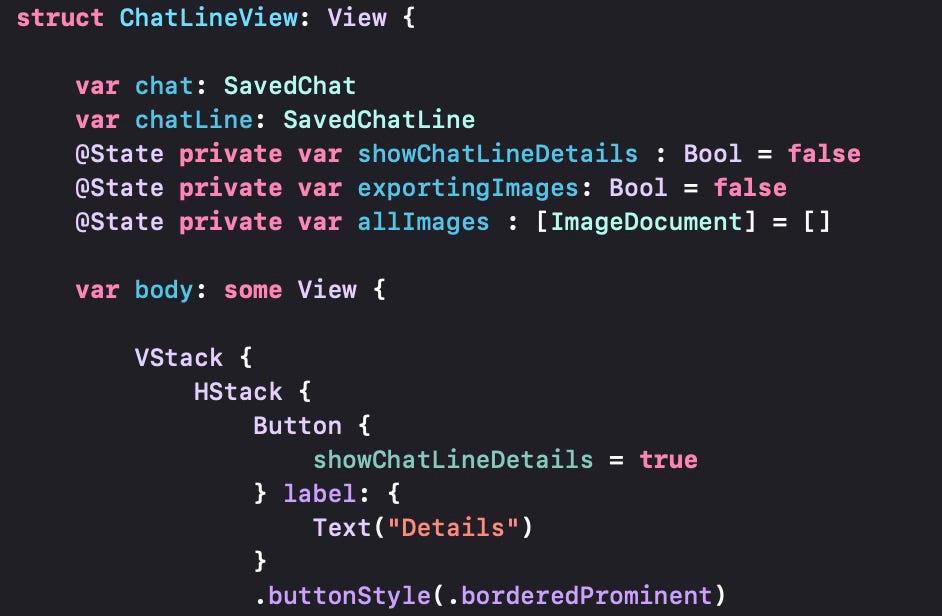
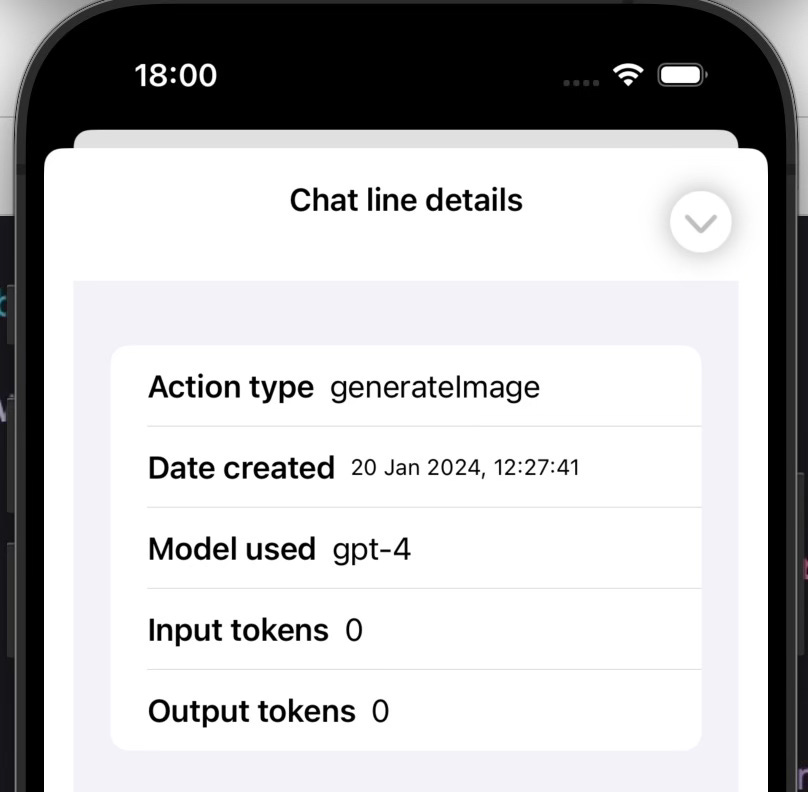
.We define an array of ImageDocument objects that will correspond to each of the generated images from a particular chat instance. Depending on what image model we use, we can have one or more images generated. With dall-e 2, we can generate between 1 and 10 images per chat prompt. However, please note that the number of images allowed depends on the rate limits OpenAI imposes. The first level allows up to 5 images at a time, so unless you’re using the OpenAI API a lot, you should stay at a number up to 5. If you’re using the more advanced dall-e 3 model, that only allows 1 image at a time. The Details button here is used to display some additional information about the chat line in question. An example is shown below.
When we are exporting generated images, we would like to store them to any location, but especially on our iCloud drive, which would be more suitable to store big files. Thus we use the .fileExporter modifier in SwiftUI.
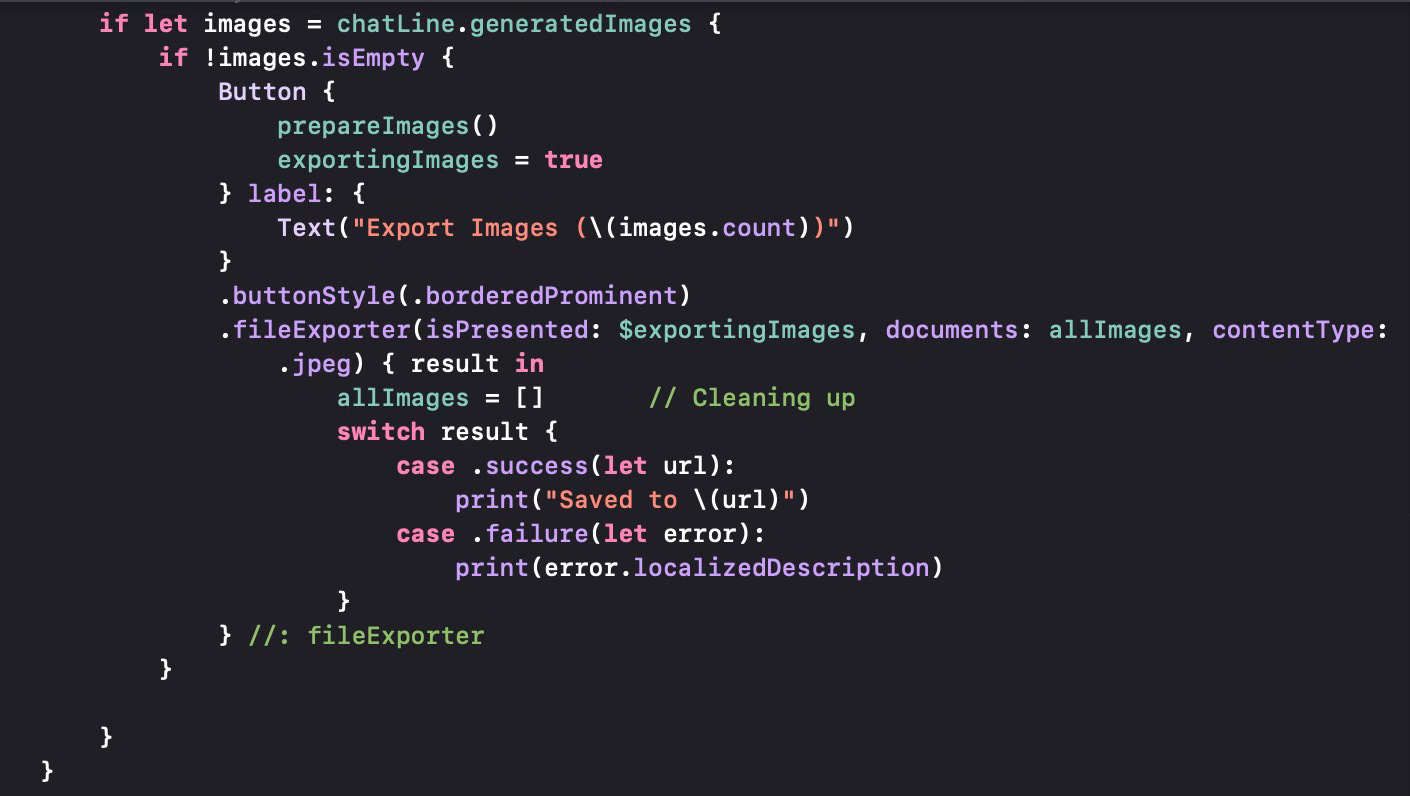
If the chat line has generated images, then we present a button that allows the user to select the location to store the images. The .fileExporter modifier will store all selected image files in the array in the parameter documents. In this case, we are processing and preparing the images to be stored using the prepareImages method.

We loop over the generated images in the chat line and take each image, convert it to a UIImage, using the conversion from Data (stored in the memory objects for images. We remove special characters from the string to be used and use it as the document title. Then we create an ImageDocument using this title and the UIImage we created. Then we add the document to the allImages array. Once all images are added to the array as ImageDocument objects, fileExporter opens a dialog to let the user select the folder to save the images, then saves them to the selected folder (typically an iCloud folder and best of all, does this asynchronously in the background.

Lastly, let us look at the ImageDocument object that is used to store the images. It is a subclass we created, subclassing of the FileDocument class, which is a generic class that is used by file exporter (and fileImporter) to export any file.

We’ve used jpeg as the format for the image files, of course you can modify this for other output formats you may want. The only critical code here is the fileWrapper function which basically wraps your specific content to a FileWrapper object that fileExporter would recognize. We generate the wrapper by taking the image in memory stored in generic Data format, converting that to jPeg and using the title generated as the file name.
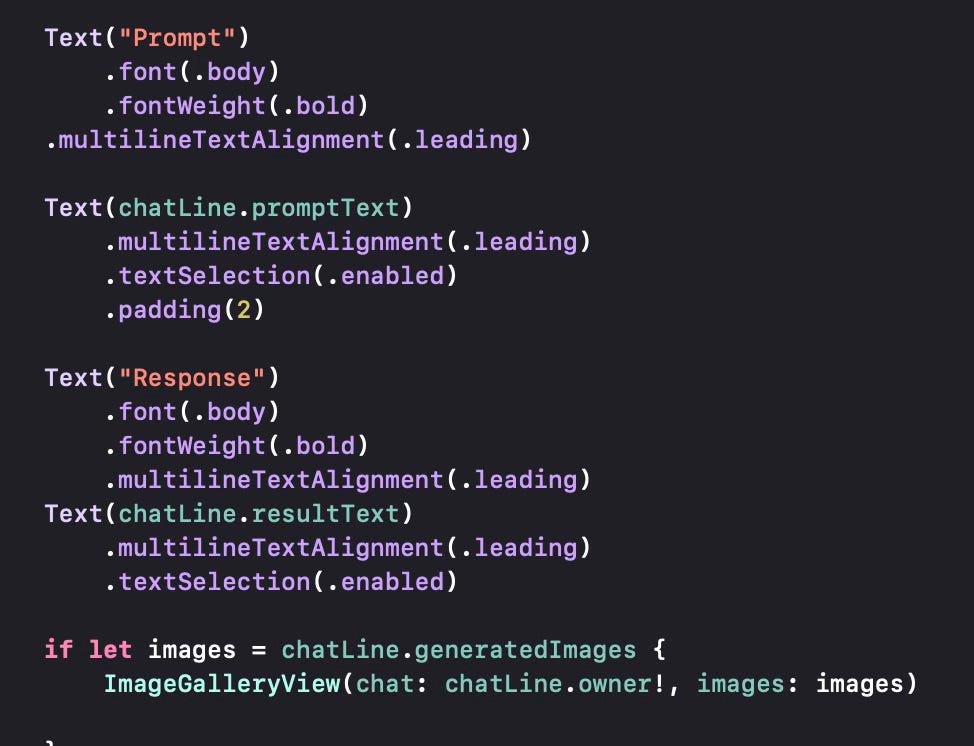
The images are displayed on the screen using the ImageGallery view just below the Prompt and Response fields we use for a general chat line. This is a quite straightforward view which displays all generated images on a horizontal scroller. Below you see this gallery from an iPad version of the application for better viewing.

In this post, we’ve looked at exporting images that we have generated in an OpenAI chat and storing them somewhere, most likely our iCloud drive. We will look at other action types in future posts.