
In my previous post, I implemented a simple program to perform chats using the OpenAI API. In this post, I’m going to cover how to perform image generation.
Let us first see how we will display chats when we have the options to have a textual chat and image generation. An individual chat is executed in RunChatView and can be seen later in the same view after the execution is done since all chats and chat results are saved. Here is a revised version of the view that includes images as well.

Apart from the textual display of the prompt and the possible textual display of the result, we also display any images that might have been generated, stored in chatLine.generatedImages. Any image stored there will be saved as data (Base64 encoding) and will be converted to a UIImage to be displayed through Image.
OK, now let us look at how to generate the image. We use the same interface but there is a separate button for the image generation, as shown in the code excerpt below.
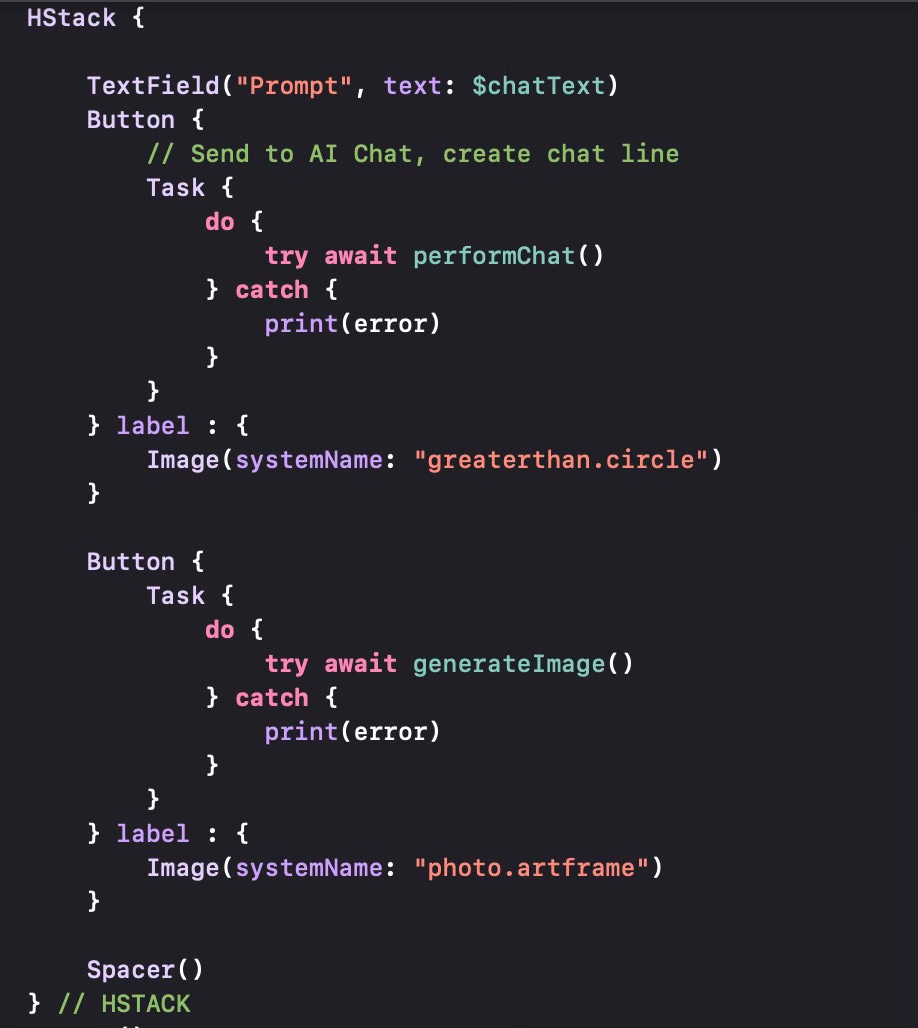
Like most OpenAI API calls, the image generation call is also asynchronous, thus we wrap the action of the button within a Task block and run it asynchronously. The man functionality is captured in generateImage.

We prepare an ImageQuery structure (in contrast to the ChatQuery structure we prepared earlier for textual chat). I’ve used the DALL-E 3 model and used Base64 JSON as the image format, 1024x1024 as the size and “vivid” as the style. I found the OpenAI Swift package documentation as well as OpenAI’s API documentation a bit lacking and I had to do some trial-error to get the right approach. Once the query is executed, we get the results in the ImagesResult structure. The image is retrieved from the result in Base64 JSON format and is converted to generic data, which is then stored in our ChatLine structure. This code can be improved by making parameters user-selectable (e.g. using DALL-E 2 which is half as expensive to use etc.).
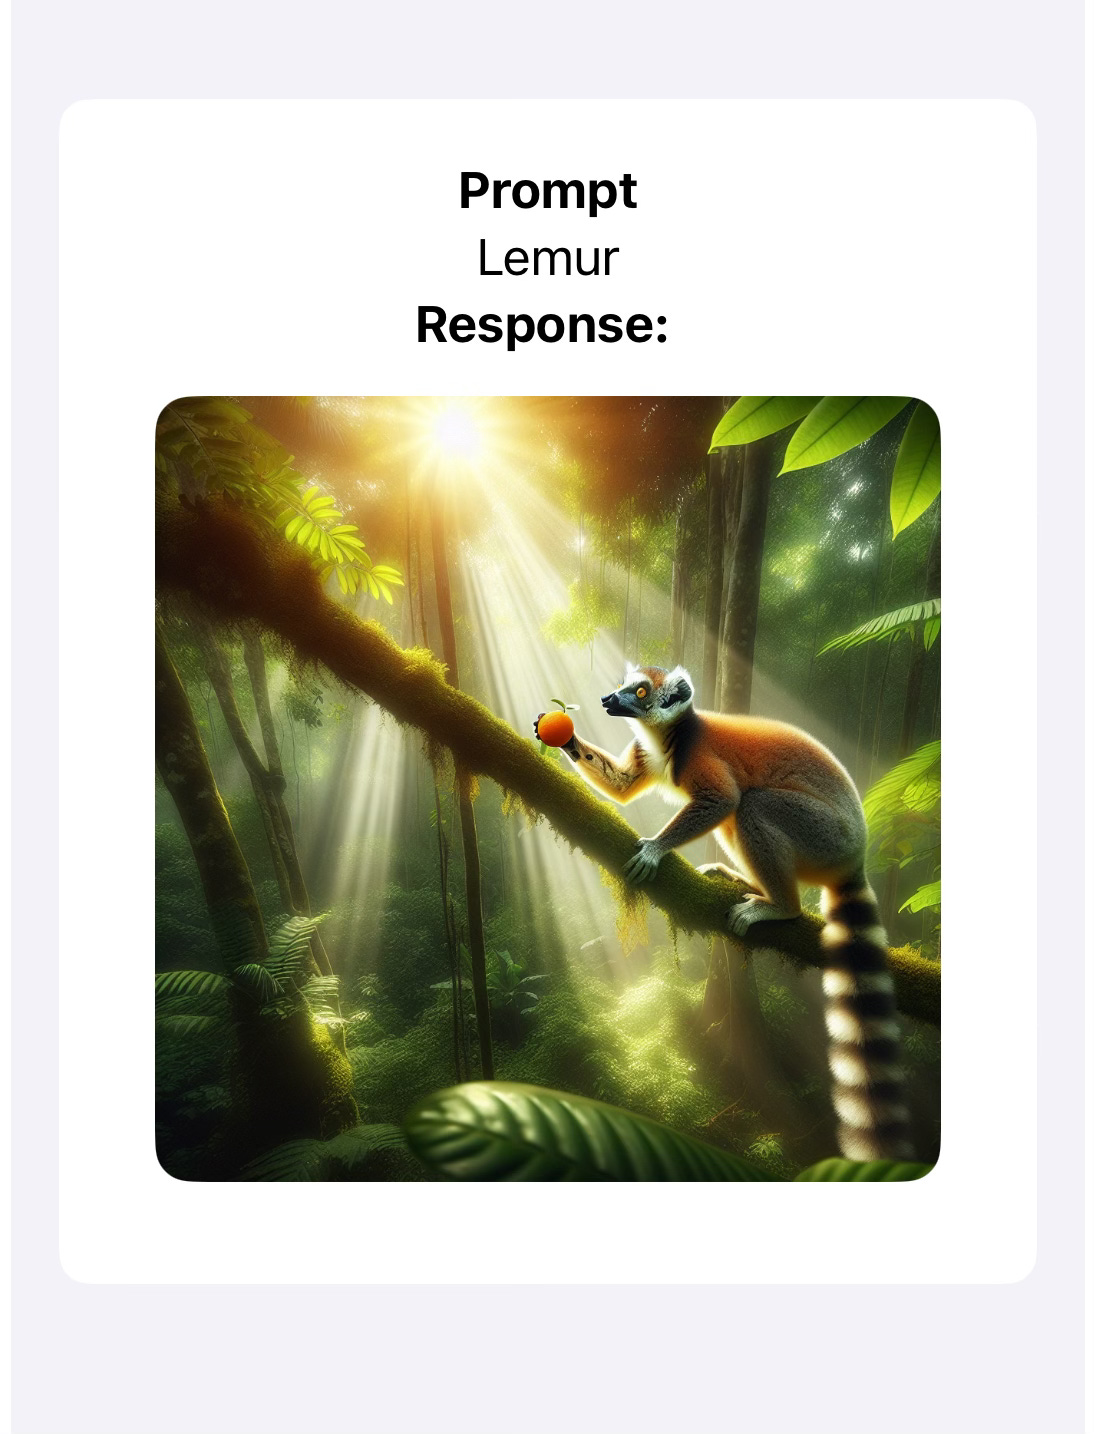
Once we run an image generation query, we can see the result on our Chat window.
This is a simple implementation of the image generation function. In the next post, I will implement the Save To File option to get the generated images to a file on the iCloud Drive. I will make some of the parameters user-selectable. I will also make sure that if more than one image is generated (e.g. when using DALL-E 2) all images are displayed and can be saved.